Showing posts with label nail art. Show all posts

Wednesday, June 11, 2014

The Fault in our Stars Nails

Awhile back I talked about my favorite book, Looking For Alaska. Well, LFA is written by a spectacularly popular author and internet personality (is that a thing? I think so), John Green.

John Green's latest book, The Fault in Our Stars, or tfios, was recently turned into a movie. And unless you avoid all forms of media, I am sure that you knew this.

I am going to be talking a lot about this movie experience I had, and how I feel about the book/movie in general, in an upcoming post but first I wanted to show the nails I wore for the movie premiere.

I actually went and saw the movie Thursday evening (if you want to know how, be sure to come back and look at the future post!)  so on Wednesday I sat down to do my nails.

I have seen a dozen tfios manicures over time and they all pretty much feature the color scheme and design of the book cover.
Mostly because it is an aesthetically pleasing and easily recognizable cover.

picture from Wikipedia
This is what the cover looks like. It also helps that the design is a fairly simple one.

So instead of basing my nails off any examples I saw online, I decided to kind of go with the flow and do my take on the cover.

The fault in our stars nails
So here is my interpretation of the book cover!
First I painted my nails with Rimmel 60 seconds in Blue My Mind . 


Next I painted black cloud shapes with my dotting tool using Sephora Black Lace. (on all fingers except thumb, in which I painted my attempt at an infinity symbol using the same black polish and dotting tool)
Then a little lower I painted a similar cloud shape using Sinful Colors Snow Me White

posing with my tfios necklace
Lastly, the most difficult part. I wanted to see if I could write "Okay? Okay." on my fingers. I have pretty small fingers so this was a fairly ambitious endeavor.

For my middle finger I used a pen tip to paint the word. I could not fit the question mark. There wasn't enough room.
So when I did my ring finger I tried it with a mechanical pencil because it was thinner. I thought, if I could finish and fit the period, I would redo the middle finger with the question mark. However it didn't make it any easier so I abandoned the idea of fitting the punctuation. Oh well.


It is not perfect and i discovered that I'm really bad at making cloud shapes? (Who knew) but I'm pretty proud of it overall. They definitely look better from a distance.

Originally the plan was to make the design on both hands be the same, minus the 'okay's on the right hand. However once I started the clouds I realized even those were too ambitious for my left hand to draw. So I settled on a dotticure using the same colors. I really liked it and think it still captured the spirit of the book cover.


On my pinky nail is Spoiled by Wet n Wild in Pet My Peacock

As per usual I topped this manicure with my Seche Vite fast dry topcoat.

Initially I had my nails looking a little more similar to the book cover-
note: this was pre-cleanup...obviously!
I had my nails like this at first but decided the black 'okay' wasn't visible enough. Where I could read my middle finger from arms distance away, I could not read my ring finger. So I decided to redo it the same was as the middle. I also redid my pinky nail because the glitter did not turn out how I expected. Pet My Peacock has a very thick base that makes it difficult to get the right glitter-to-base ratio.

The truth is that this manicure took me an embarassing amount of time. However it lasted for a few days, which is longer than my nails usually last. And I actually haven't done my nails, like, at all this year. So I was happy to try my hand at some nail art for the first time in a while!

What do you think of my The Fault in our Stars nails? Did you do a similar manicure to celebrate the movie coming out?

Sunday, December 8, 2013

Rose tip manicure- simple nail art!

I haven't done a manicure post in a long time, and this one is far overdue!

I was inspired by this pin on pinterest. Here is the picture from it. There was no credit on the pin (it just leads to a list of "pastel nails") but a little google magic lead me to this blog! Apparently the picture is from before she had a blog so that's why it's hard to find credit.

So, while mine are of course nowhere near as pretty as the original, I gave it a shot and I don't think they turned out bad!


Um close they really don't look like roses. I get that. But they are a ~full on Monet~ so they look pretty good from far away.

I put together a short pictorial on how to replicate this. Or how I did it , anyway.


First I painted all nails with Sally Hansen Instadri Pink Blink and layered Sinful Colors You Just Wait on top of it. It may not be obvious in the pictures but this is a GORGEOUS combination! I loved that the SC added a pearly pink sheen on top of the baby pink SH. It reminded me of a barbie doll.


Next I added small blobs that would be the rose buds across the top. These are Sally Hansen Instadri in Flashy Fuchsia and on my accent nail I started layering Wet n Wild Shine in Sparked. The blobs don't have to be perfect, just circular shaped.


Next I added little 'C' shaped and swirls into the rose buds in Wet n Wild Shine French White Creme to create dimension to the roses. I added small leaves in Sinful Colors Irish Green.


I added more Sparked to try and get a more opaque glitter.


All in all I really liked how this manicure turned out. It was very feminine and pretty.


All products used, from left to right. SC You Just Wait, Wet n Wild Shine Sparked, Wet n Wild Shine French White Creme, Sally Hansen Insta-dri Pink Blink, Sally Hansen Insta-dri Flashy fuchsia, Sinful Colors Irish Green.

What do you think of this manicure? Do you ever use 'abstract' roses as an accent to your manicures? 
Let me know!!

Follow your bliss,
Ember Darling

Tuesday, July 16, 2013

Honorable mentions: Looks that almost fell through the cracks

Since I'm still getting the hang of this whole ~blogging~ thing, sometimes I let perfectly good posts just pass me by.
I know. Shit's weak.

(see my honorable mentions after the jump!)

Tuesday, July 9, 2013

Independence day nails!

So as you may have already seen I recently posted a quick post of what nails I did for Independence day, but now I'm ready to go more in depth with my look and tell you how you can achieve a similar one!

First off, I love holidays. I love...themes. and partying. and holidays provide a lot of that! Unfortunately this year I had a very uneventful holiday. But that didn't stop me from rocking some awesome nail art!
I had seen lots of inspiration on other blogs and on pinterest all week. But I couldn't decide what I wanted to do myself! I finally decided that there was no way I could choose one of the manicures, so instead I decided to take elements of several different ones and make it my own!

I apologize in advance that some of these are smart-phone quality photos. But I still think they get the point across!
4th of july themed nails
4th of July nails!
Instructions after the jump-->

Monday, July 8, 2013

Walmart Haul (Fing'rs and more!)

So a little while back I saw Nouveau cheap post about a brand Fing'rs that I had never heard of. As soon as I saw her post I knew I had to get to Walmart ASAP. I waited about 2 days to get paid and then literally the first thing I did with my paycheck was go and check out the display!

I am sad that I forgot to take a picture of the display, but you can go to your local walmart and there is probably an endcap dedicated to it in the beauty section, like there was at mine. Or you can click on the word 'post' above where I linked through to Nouveau Cheap's post about it. 

So let's jump right in:
There were so many awesome colors, I had a really rough time narrowing it down. And so cheap! Because of the size of the bottles I assumed that the polishes were nail art brushes- but they aren't. I am actually more pleased with that, but bummed that I didn't grab more for that reason. I heard that the displays are being wiped out but hopefully I can get to them again and grab a few more.

fing'rs heart 2 art polish
Fing'rs heart 2 art polish
As you can probably tell, these are GORGEOUS. From Left to right we have purple reign, blue a fuse, & in mint condition 
These all retailed for less than $2! And they are gorgeous! I haven't done a full swatch yet but I am a little disappointed in the glitters (the 2 that are in focus)...they look packed but in reality they don't seem to be that packed. However with a little manipulation and layering I'm sure you could get some great payoff! I will be sure to post a manicure soon where I spotlight these colors!

nail polish from this haul including fing'rs, sally hanson, sinful colors
all the nail polish from this haul

As you can see I did not just get Fing'rs brand. Now you can see in mint condition better. After those we have-

Sinful Colors tempest - a bright lavender shade, Sinful Colors kissy- a deep hunter green loaded with gold glitter, and Sally Hanson Insta-dri pink blink a soft pink that reminds me of a ballerina.

The sinful colors were around $2 and the Sally Hanson was $4.


Fing'rs nail art kits
nail art kits
Aside from polish I also got some nail art goodies. From left to right, Salon Perfect nail art duo. This is great, and exactly what I've been looking for. One side is a dotting tool, and the other is a thin but sturdy brush to do nail art with. This was around $2. 

Next is the Fing'rs heavy metal extreme nail art kit. This kit comes with 20 sheets of foil (I have never used foil but I am willing to try it out!), 68 studs, & a small black bottle of polish. It retails for $6 and change. I have been wanting to try studs on my nails for so long (I'm obsessed with studs!) and I know this is much more expensive than buying some offline, however, I paid for convenience and peace of mind knowing that I wasn't putting my credit card online.
and last is the Fing'rs heart 2 art stripe out nail art. This comes with 3 rolls of striping tape and was around $3. Again, I definitely overpaid but it was worth it to me because it was still cheap enough. 


organix repairing awapuhi ginger sulfate free shampoo
Organix repairing awapuhi ginger shampoo- sulfate free

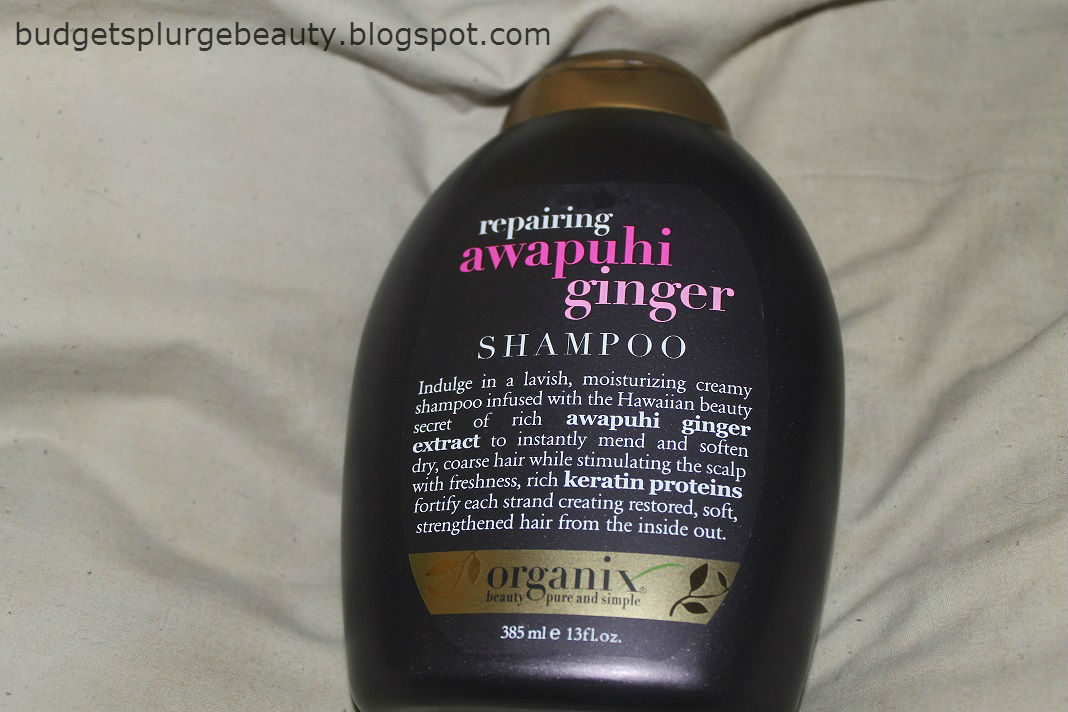
Last but not least from Walmart I got a new shampoo to try. I have never tried this brand- Organix. But I was looking for a sulfate free shampoo, and I wasn't totally thrilled with the last one I tried. This retailed for around $6 for 13 fl oz. It smells yummy, too!
sulfate free!
As you can see from the label, it is indeed sulfate free.

So, I was very pleased with my haul and even though I felt like I bought all cheap items, it definitely added up quickly!

I can't wait to use the nail polishes in some upcoming looks! In fact, in mint condition is next up! 

Follow your bliss, even if it leads to Walmart,
Ember Darling

Thursday, July 4, 2013

4th of July nails *sneak peak*

I know that waiting until the actual holiday to post holiday nails is a little...ditzy. How is anyone supposed to be inspired if they see it AFTER the holiday? (that's my philosophy anyway!) 

BUT I didn't actually do my nails until last night. Whomp, whomp, whomp.

So here's a sneak peak of my nails. This was just taken with my cell phone so, better pictures are to come, along with the details of how I did it and the polishes I used!

Thanks for checking them out! I know they aren't great but I'm pretty pleased with them. I can see myself getting better, although I have a LONG way to go! 

Hope everyone has a great, fun-filled, safe holiday! Personally, I love holidays. I love doing all the cheesy things that come along with holidays. So, I hope everyone has a beer, eats some grilled food, and plays with some fireworks today!
4th of july nails
let's not talk about how much love my cuticles need. And also let's not address my inability to stay between the lines.
Follow your bliss,
Ember Darling

Tuesday, June 18, 2013

I don't know about you...but I'm feeling 22! *Birthday nails*

Alright admittedly I can't get that dang Taylor Swift song out of my head! I don't even like it that much! But when you turn 22, it just gets stuck there, it's like a law.

But alas, yesterday was my birthday! I turned, as you may have guessed, 22. 

To celebrate I painted my nails with a birthday theme!

If my artwork is too awful for you to comprehend it goes a little something like this: 
thumb- candles, pointer- balloon, two middle- 22, duh; pinky- confetti 

I don't have any good pictures of it, and for that I apologize. I only have what I was able to capture with my phone, which wasn't much.

The base to this manicure was a purchase that I have been eyeing for a while..Essie's Using my maiden name. Such a gorgeous color! This was my first Essie purchase! Having only used it once I can't properly review it yet but that will be coming soon! :)


As you can tell I used a lot of colors for this! the polishes I used go as follows:
I know this is NOT the best picture but..ah well.

We've got from top to bottom- Sally Hanson nail art pen in Black (used for the string of the balloon), Sinful Colors in Irish Green (used for polka dots on '22' fingers), seche vite fast drying top coat, China Glaze in Creative Fantasy (for the balloons), Sinful Colors Nail art in either no more or bonjour- I had both of them out and not sure which one I used, whoops! (used for the candles), Sinful colors Nail art in Rose in Your Nose (for the other candles), Sinful Colors in Unicorn (for the flame of the candles), Sinful Colors Nail Art in  What a Night (for the numbers), Sally Hanson Instadri in Orange Impulse (for the flame of the candles), Ulta in Pinata-yada-yada (for the congetti pinkies), and last but not least Essie in Using My Maiden Name (for the base)

I've got to say this was the most work I've ever put into a manicure and I'm pretty proud of it! I know it's not perfect but I am still really happy with how it turned out. 

As for my birthday, I went to the Florida Aquarium! I know the purpose of this blog is for beauty so I will only include a picture or two :) 
myself and the boyfriend. It may be hard to tell but I'm wearing teal and blue eyeshadow/eyeliner/mascara, and have blue eyebrows. You may not know this but I am a mermaid so going to an aquarium was like returning to my natural habitat and I felt dressed for the part!

Follow your bliss,
Ember Darling

Monday, May 27, 2013

*Disney Inspired* Snow White Nails!

I have a confession to make: I am obsessed with Disney.
In fact, I have an annual pass to Walt Disney World in Orlando, FL.
I go as often as possible, and love to do my nails a new way each time I go. 

So today I bring you my Snow White nails. I was inspired by Pinterest (aren't we all?) I no longer have the inspiration picture but I think you can get what I was going for. 
These aren't perfect. I don't think I've posted manicure pictures yet but you will soon see that I am definitely in the learning curve right now. I have virtually no skill when it comes to nails. Actually, the majority of the problem is in waiting for them to dry. I literally always mess them up. I even use Seche Vite fast drying top coat -and those suckers dry fast-and they still get banged up. It's basically a lost cause. 


As you can see, my fingers are inspired by her dress, and my thumbs are apples! 

Here are all the products I used for this look! On the top is the Sinful Colors nail art polish I got from Dollar Tree in My Day. From left to right- Seche Vite fast drying top coat, Sinful Colors Ruby Ruby, Revlon Nail art expressionist in Night & Degas, Sinful colors in Unicorn, Sinful Colors in Irish Green, Sally Hanson Instadri in Blue By (also from Dollar Tree), and Rimmel Basecoat/topcoat pro (I use as a base coat because my Seche Vite basecoat broke)

I will say that I was unsatisfied with Sinful Colors Unicorn. It was super streaky and had visible nail line after 3 thin coats. Luckily it didn't matter for this manicure since I was painting the ends. 

Here are some pictures of me meeting Snow White and showing her my nails! She quite liked them.


Any other Disney lovers out there? Have you ever done any Disney inspired nails? Would love to hear from you :)

Follow your bliss (especially if it leads you to Disney World),
Ember Darling

Sunday, April 28, 2013

Ulta & Dollar Tree Haul!

If you're addicted to beauty products *ahem, CHEAP beauty products* and haven't been down to your local Dollar Tree lately...you're messin' up!!

I used to think that Dollar Tree makeup had to be trashy and cheap, right? WRONG! They now have brands that might sound mighty familiar to you! such as Sally Hanson, Sinful Colors, NYC, ELF, Revlon, and Milani!


Here's some pictures of what I picked up on my latest trip to Clearwater Mall, which has an Ulta and Dollar Tree right next door to each other! The best part about the Dollar Tree is that since everything is so cheap, you can buy shades that you might not normally purchase or try. That's what I did! 

 First up, Ulta haul

I finally got my hands on the Nyx Jumbo eye pencil in Milk. This is a product that most consider a mainstay in their collection. It's versatile, it's cheap, it's high quality- what more could you ask for?

I got two shades of the Nyx matte lip creams. I have heard many good things about these so I was so excited to snap them up! The one on the left is Amsterdam. I unfortunately don't know the name of the one on the right. I tried it on and it was more nude than I expected, and I gave it away to a friend.

From the dollar store: One weird thing about the dollar store is that all the makeup is packaged- even the makeup that isn't normally in a package. It's strange but what can ya do?
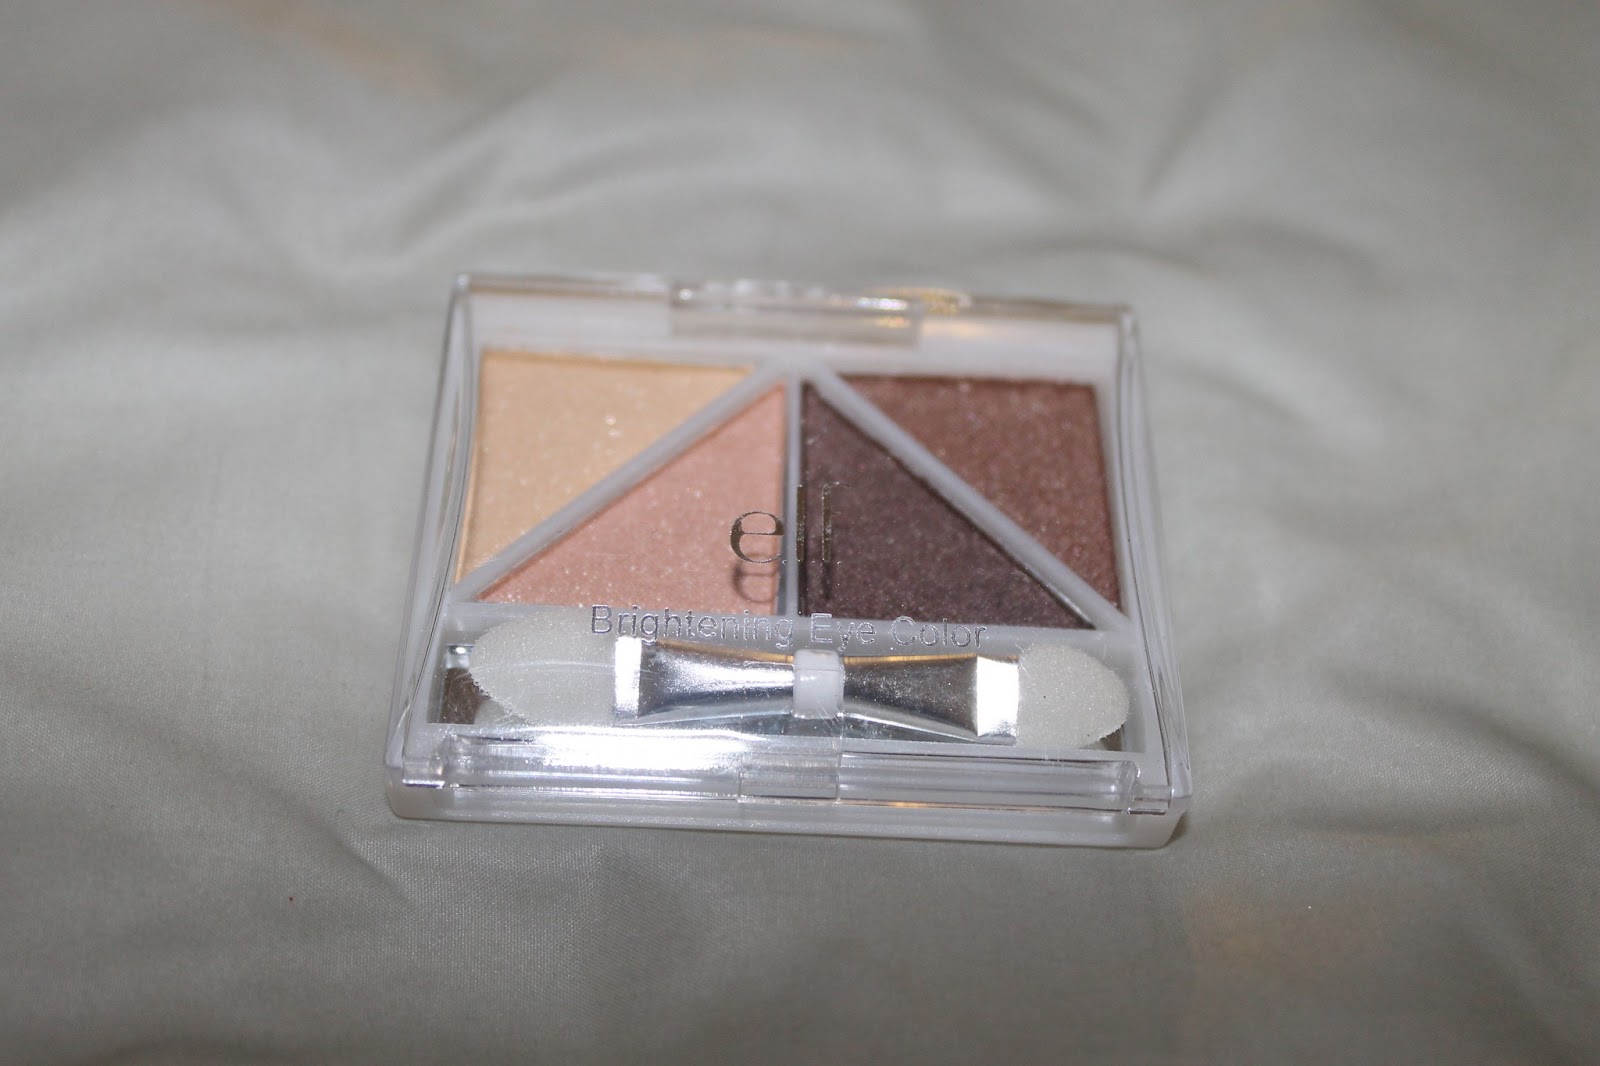
elf brightening eye color

baby wipes! No, I don't have a baby. These things are vastly underrated as far as makeup removing/touchups go. And for only a buck, I couldn't resist.

from L to R: Rose in Your Nose, Bonjour, My Day
Can't wait to try these out! Reviews coming soon! :)

Blue By, Orange Impulse

Gone Platinum, Ciao Bella, Cream Pink
I am SO pleased with Ciao Bella. I hate buying dark sapphire colors because they almost always turn out black. But this one is definitely blue on the nail! I highly recommend it.

My two favorite finds were the Sinful Colors nail art polishes. These were discontinued and I've never seen them anywhere else before! But for only a buck you definitely can't go wrong. The other favorite find is Sally Hanson Insta-dri polishes. Word on the street is that these nail polishes ALWAYS work with stamping kits (which a friend of mine has that I use frequently) so I snatched up a few to use for that purpose!

I can't wait to use these products! 

What about you guys, have you found any gems at your local Dollar Tree lately? Are you going to go searching for some bargains now? Because you should! 

Follow your bliss,
Ember Darling
EmberDarling